Autres sites:
http://www.francoisgarcin.com
http://www.ulule.com/ressac
Facebook:
@sacleclin
@tonressac
Instagram:
artisan1genieur
Outils pour utilisateurs
Panneau latéral
Table des matières
LibreMasque
(translation in progress. Your contribution is welcome : contact@francoisgarcin.com :) )
Please meet Libre Masque. A free and open source barrier mask shape that merges the DIY masks comfort to the technical needs of AFNOR SPEC S76-001 norm.
LibreMasque's breakthroughs
Improved breathing
Minimal breathing resistance is key for a mask to be worn during hours of activity.
- Air flow in m3/h increases proportionally with the exchange surface in m2. LibreMasque's shape allows for a much wider area.
- LibreMasque's oriented pleats maintain the fabric away from the mouth and nostrils. This increases the effective exchange area as well as decreasing the sensation of heat.
- LibreMasque's oriented pleats allow for a tridimensionnal shape that is comfortable to wear without a sewing facing the mouth and noze. Not having this axial sewing is necessary to comply with the AFNOR SPEC S76-001 norm
- For your mask to be compliant, you should choose a material that has been approved in thistable released by IFTH.
Your face can move again
To be efficient and comfortable, a barrier mask should allow for all face movements, while insuring a perfect joint over the contour without leaks.
- LibreMasque's contour is very close to the jaw pivot to decrease relative movements between mask and face.
- The arc from above the nose to the neck is long enough to allow the mouth to be fully open without moving the nose contour!
No leaks
To avoid leaks, and on top of decreasing relative movement between face and mask contour, LibreMasque's shape creates a 1cm wide band in contact.
- Oriented pleats result in a shape that surround the face without sewing facing the nose and mouth.
- LibreMasque's conic shape is such that the mask's surface is tangent to the face's surface all around
- Straps anchors are positioned in such a way that it stops the contour from being slack.
Comfort
To be efficient against a pandemic, a mask should worn, sometimes for hours of activity. Therefor a mask's comfort is key to efficiency. Many DIY masks are already very comfortable, so I used this collective work and used my know-how in oriented pleats to remove the axial sewing. All advantages we talked about above are key to a better comfort. On top of this:
- 100% cotton jersey straps and cursor are comfortable for hours and allow for easy and fast tuning. They are machine wash resistant too
- My advice is to choose a natural material for comfort. 100% cotton up-cycled bed sheets are a good option.
Material choices : up-cycling, Low-Tech and biodegradable
Two other concerns about barrier masks are material availability and respect of our environment. Here are my choices :
- Up-cycled 100% cotton bed sheets are available washable many times and biodegradable
- Same thing for 100% cotton jersey from t-shirts
- I use 0.5mm galvanized wire for the nose contour because they are easy to find and quite harmless to the environment, but up-cycling option exist too: hair pins, some telecom wires…
About SPEC 76-001 AFNOR norm, and LibreMasque's level of protection
- For obvious reasons, the norm rules out medical use. Barrier masks are made for the public. Gieven the potential shortages, this model could be a good base to answer medical needs. At least this is what motivates this work.
- Many DIY masks shapes can comply with norm, however the most comfortable IMHO has a sewing on the central axis that rules it out. This is the most important contribution from LibreMasque to this fantastic collective work. LibreMasque is free to be used, modified, distributed, so go on without asking. Feedback is welcome though!
Making tutorial
(Writing in progress. This is my first online tutorial, so please feel free to send feedback through email. I can even give you access to the wiki if you want)
Tools needed
- a pair of scissors
- iron
- wire cutter/plier
- sewing machine
Material needed
- Barrier fabric (100% cotton 150g/m2 up-cycled bed sheets here)
- Fabric for straps (100% cotton jersey from up-cycled t-shirts)
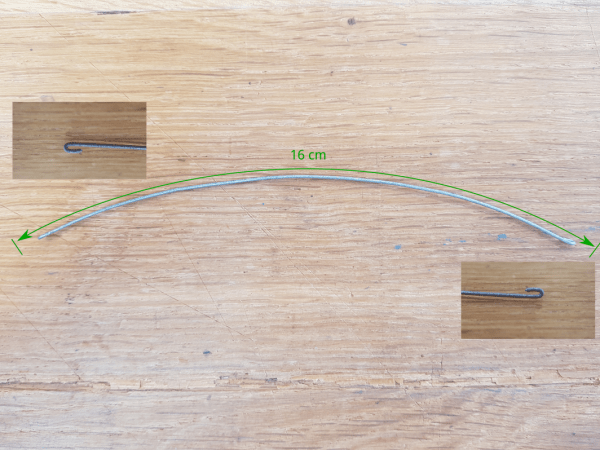
- Galvanized wire 0,5mm or other up-cycled wire (16cm long for a mask)
- that's all folks…
Steps
Note : I do these steps for 20 masks at a time. It is yours to choose the right ratio between pleasure of speed and fatigue from repetitive tasks
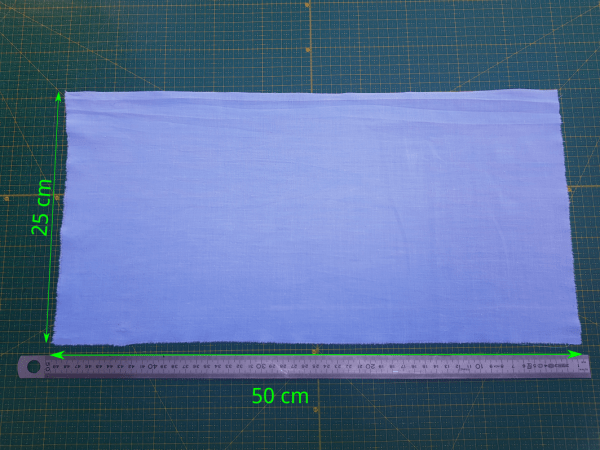
1. Cut a 50x25cm rectangle
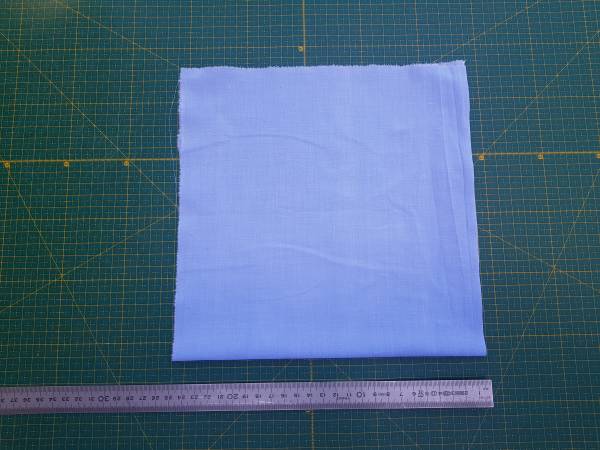
 2. Fold in half
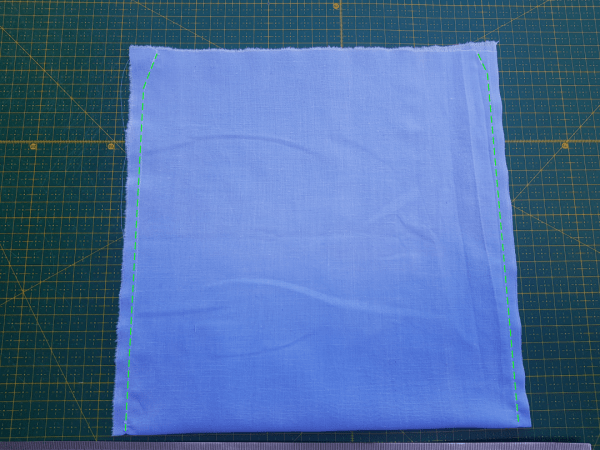
 3. Sew sides that are adjacent to the fold
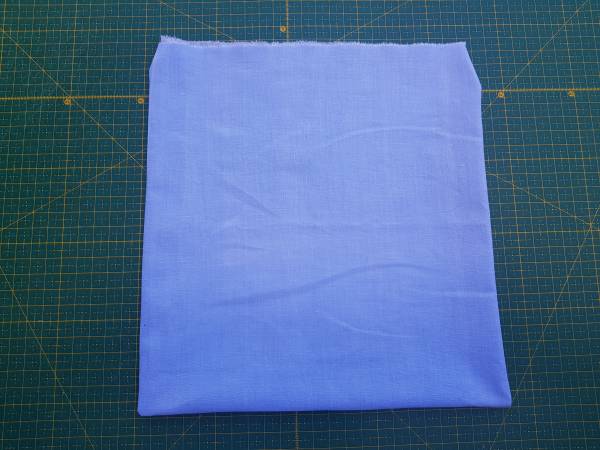
 4. Turn inside-out
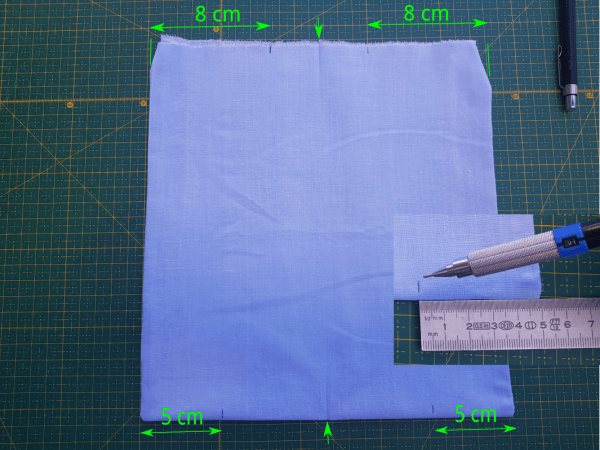
 5. Mark future folds with a pencil and fold in half to mark the middle axis
 6. Fold (pinch) on the marks and clip them on top of the middle axis.
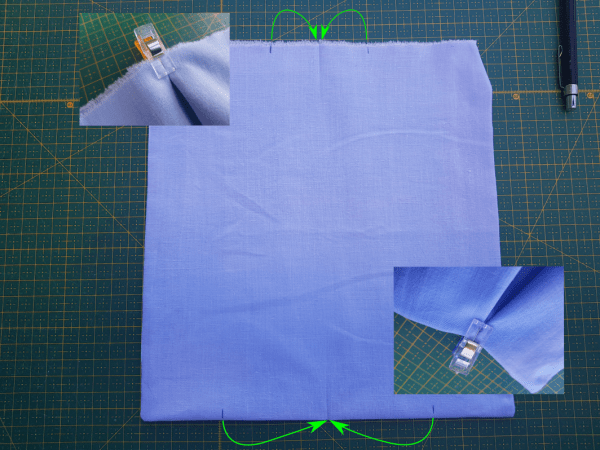 7. Flip, align folds and iron good
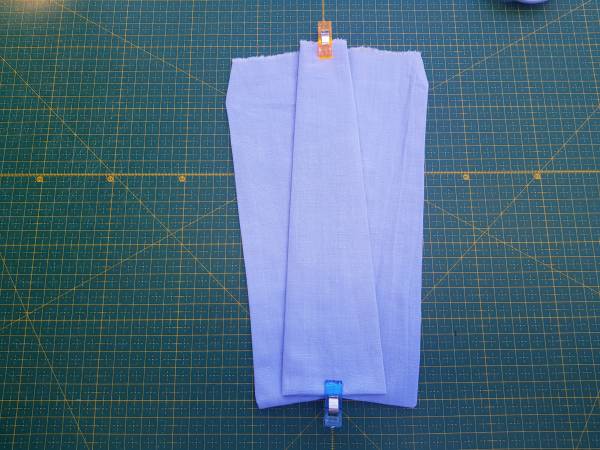 8. Sew bottom
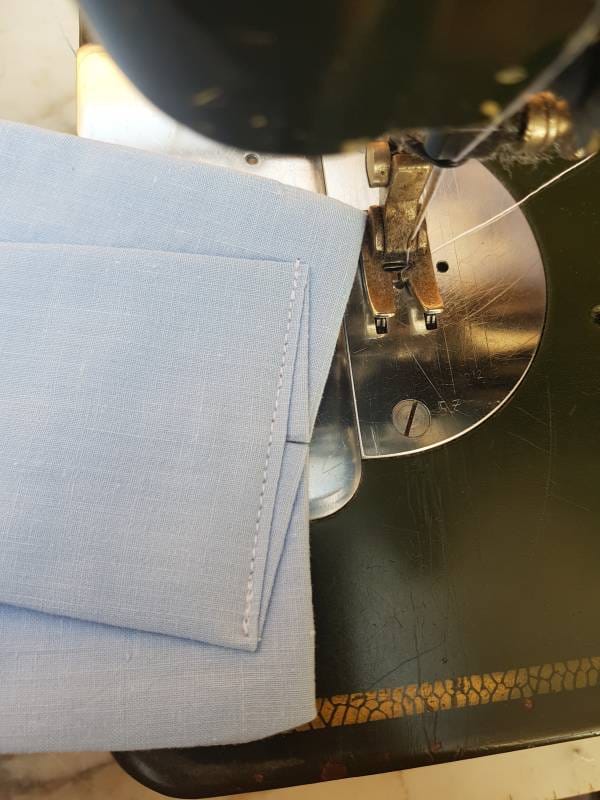 9. At the top, fold 1cm- and iron
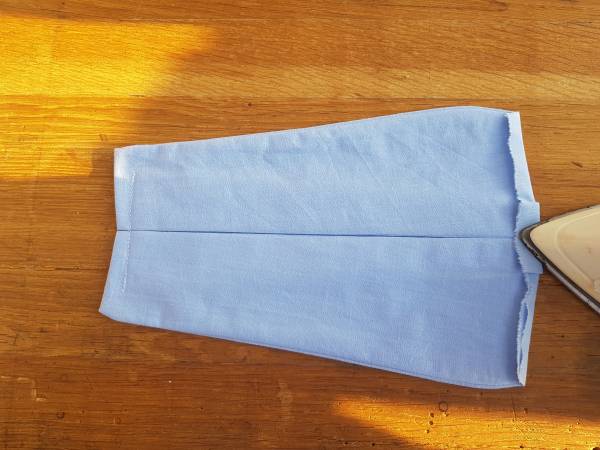 10. Sew
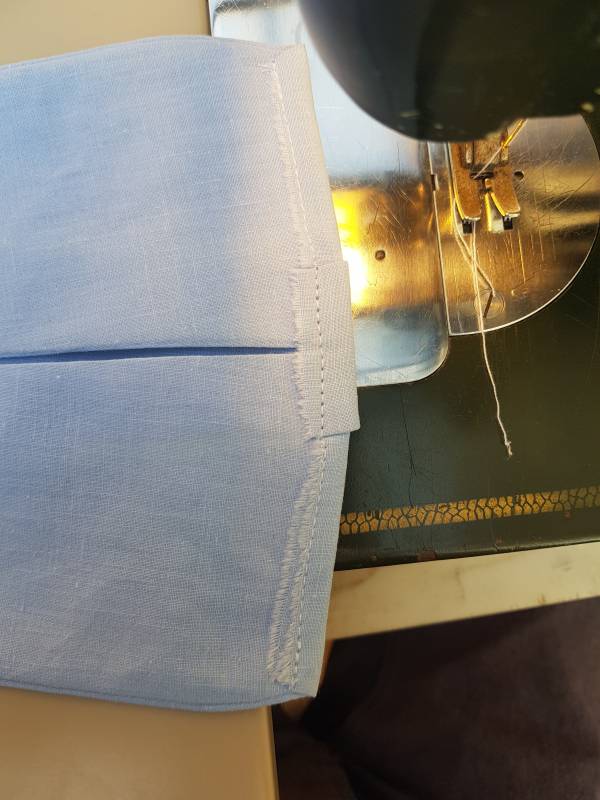 11. Cut 16cm of wire and ply the tips
 12. Fold 1cm+ over the wire and sew. The wire is then well enclosed at the very top of the mask
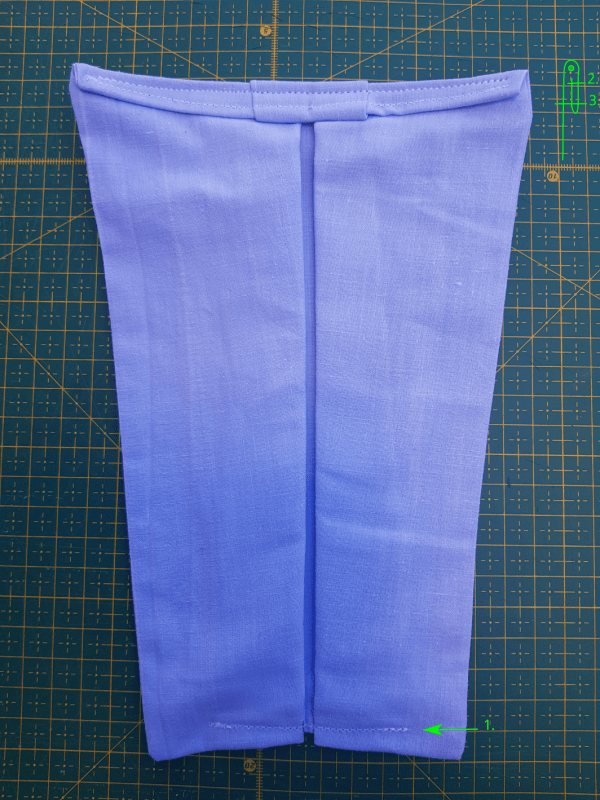
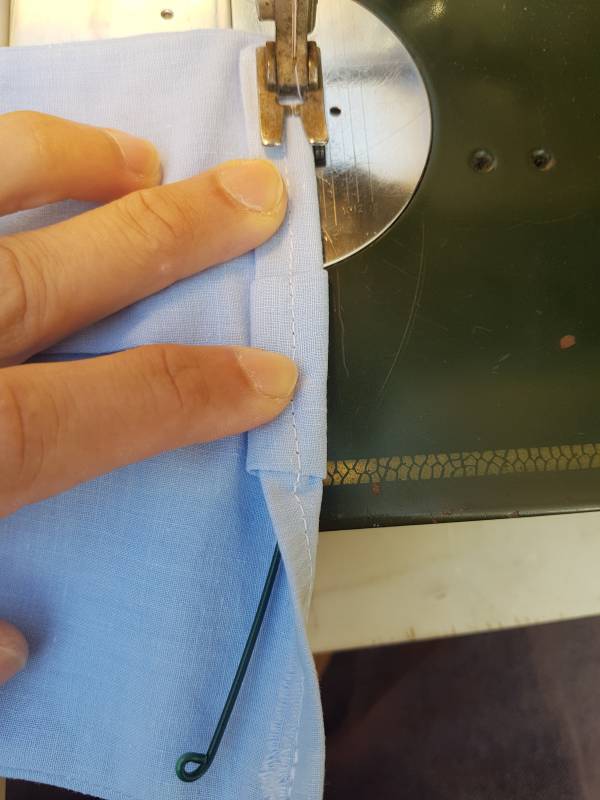 13. Here is a summary of last 3 sewings. At this stage, your work should be 23cm long along the middle axis
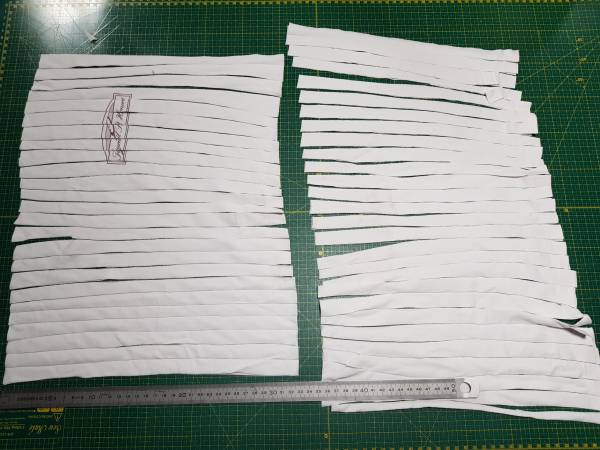
 14. Prepare 32cm+ straps and around 2cm wide in a 100% cotton t-shirt
 15. Z fold a upper corner over a strap and sew
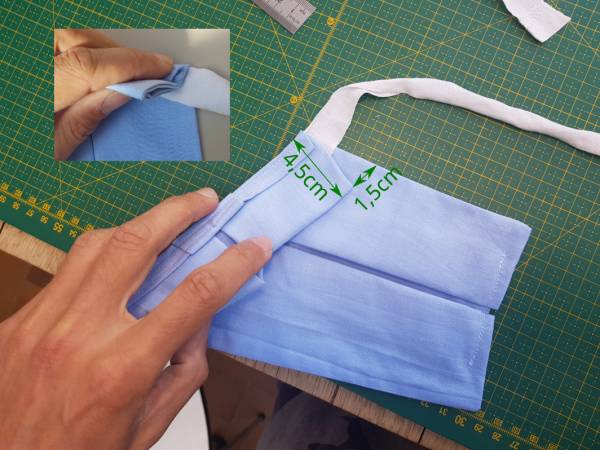 16. Repeat the same at each corner. Top corners are z-folded askew over 4.5cm and bottom corners are z-folded aligned with the side over 1.5cm. Sides should be 9cm long when you're done (this is important for the joint to not be slack)
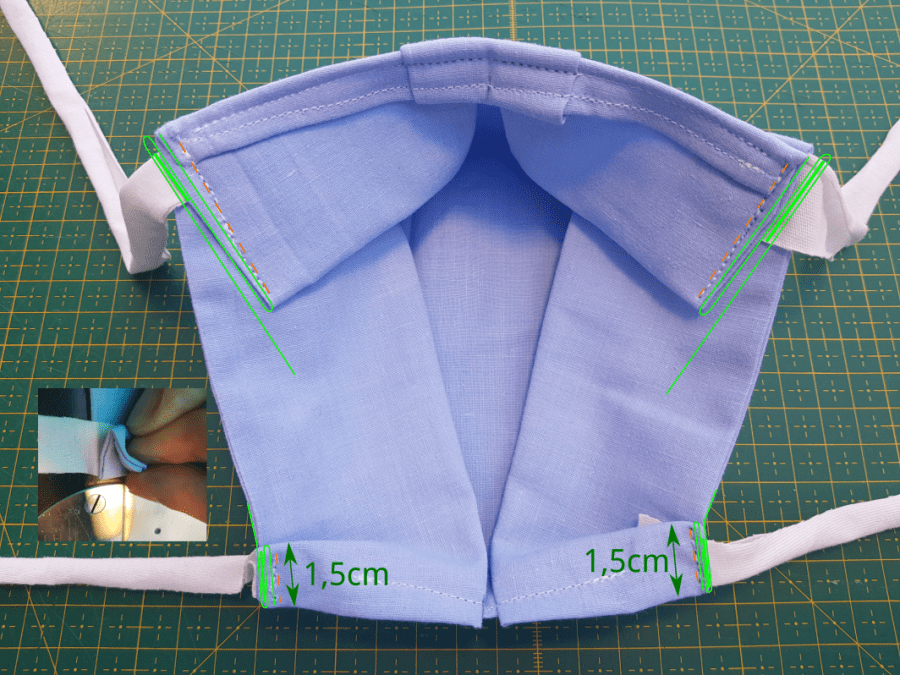 17. Admire your work. Last step was not easy, I give you that! Thanks to the oriented pleats you just made, you turned a flat square into a three-dimensional shape. Franckly, bravo!
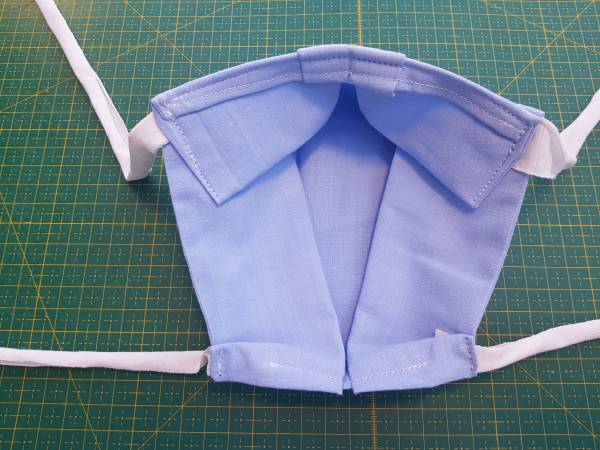
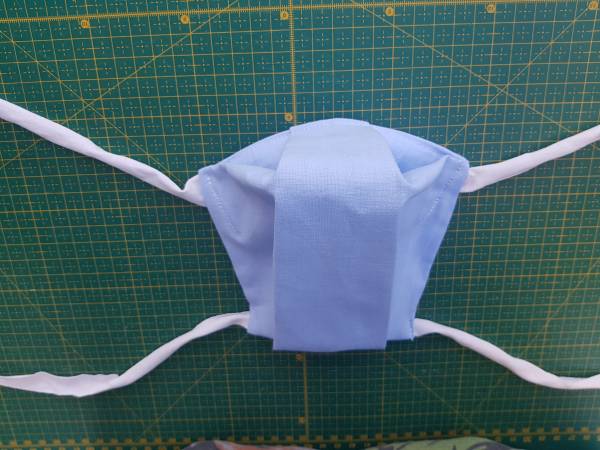
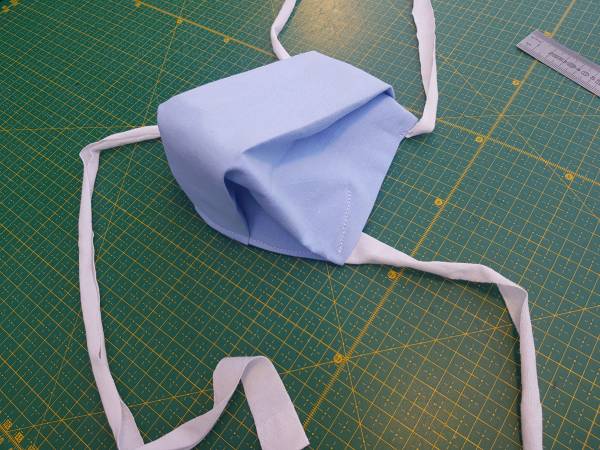 18. With a fifth strap , tigh 2-by-2 upper straps then lower straps
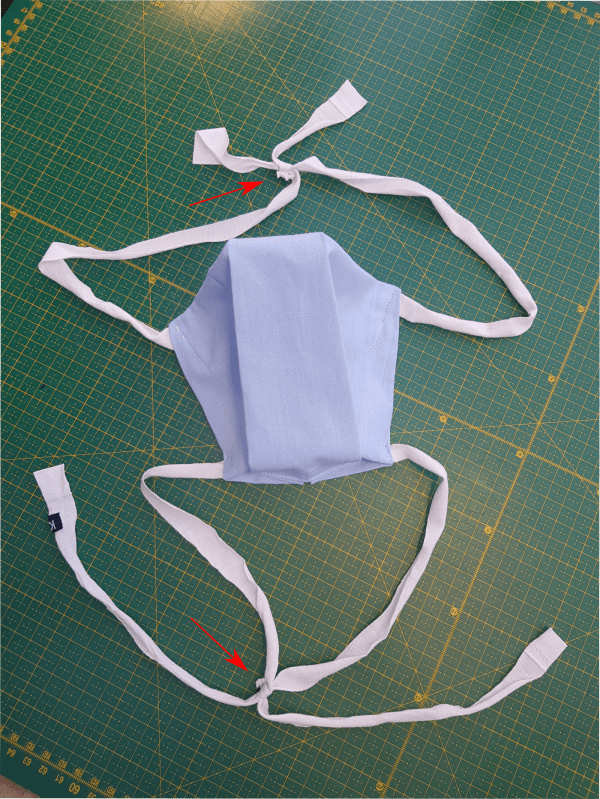 19. It take 3 simple knots, well tighten each time
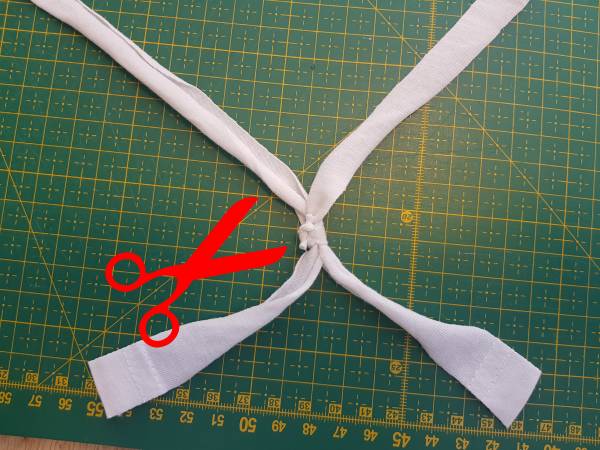
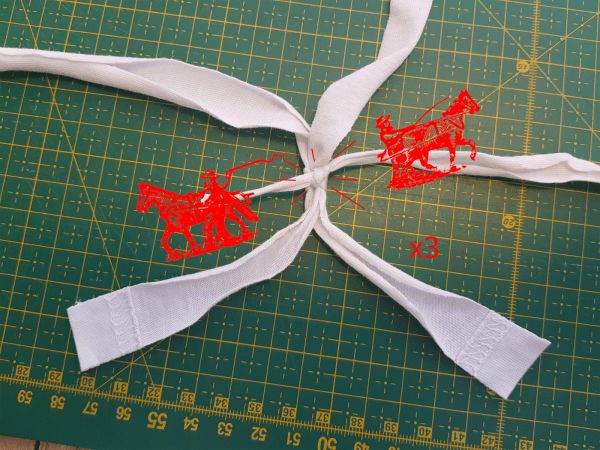 20. Eventually, trim the surplus
User manual
What you think
I will try to add a commenting section. Meanwhile, here are some feedback I received so far.
“Bravo je viens à l’instant de faire votre masque facile à faire et super confortable . Je suis couturière depuis 15 j je fabrique des masques pour les maisons de retraite et infirmières maintenant je vais faire le votre bien plus confortable merciiiiiiiii prenez soin de vous” Marie Thé sur Facebook
“Mais il est trop malin ce modèle !! yes Jusqu'aux brides et au système de coulisse ! On voit le produit bien pensé et pas seulement copié de ce que l'on voit un peu partout, c'est le plus inventif que j'aie pu voir et il a l'air bien confortable à porter, ça donne bien envie d'essayer ! (cousu sur la machine de ma grand-mère, on dirait ! comme quoi pas besoin de machine sophistiquée…) Merci !! Paulo sur le forum de Threadandneedles.org


